Anyone would think that connecting the PC to the TV is simple: you take an HDMI cable and connect both devices, right? Well: sort of … What if your computer, laptop, or desktop, doesn’t have an HDMI port? This guide shows how to establish a connection between your computer and a TV on the Windows platform using several wired and wireless methods.
Table of Contents
1. HDMI Port
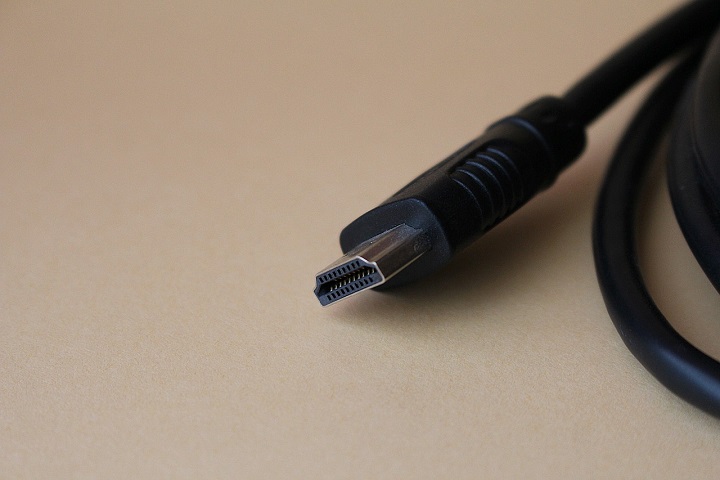
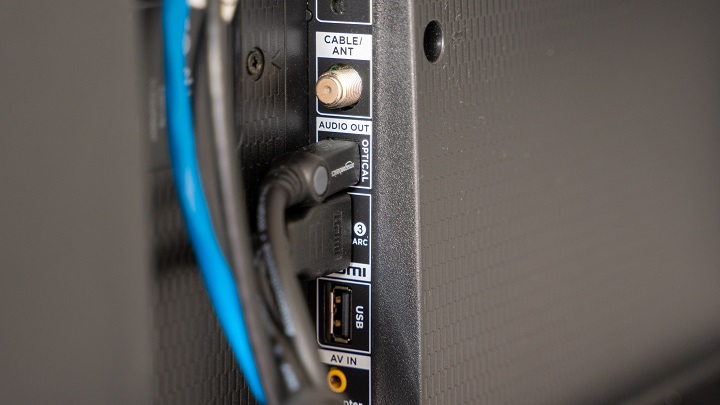
All modern monitors and televisions have HDMI ports. In most cases, there is more than one in a panel on the back or side.

Most desktop computers, and a good number of laptops, also offer this connection option, making it one of the easiest ways to connect your PC to a TV, especially considering it handles both video and audio, with a single cable.
Two smaller variants of this interface that are still used today are Mini HDMI and Micro HDMI.
Connect the two devices, connect one end of a male-to-male HDMI cable to a port on your television, and the other back to a port on your computer.
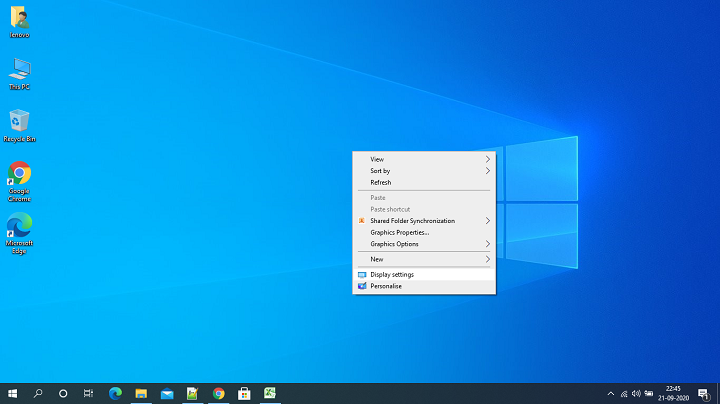
Windows 10 will recognize the TV as an external display, which can be verified by right-clicking on the desktop and selecting Display Settings from the pop-up menu.
To view the Windows 10 desktop on a TV, grab the remote and cycle through the menu’s connections until the computer desktop appears.

If the view seems unstable, do the following:
Step 1: Right-click on the desktop and select Display Settings from the pop-up menu.
Step 2: Select the TV in the diagram. The main screen should be listed as “one” and the TV as “two,” or a higher number if more than two displays are connected.
Here you can change the resolution, orientation, and scale of the output screen. If necessary, change the update frequency as well. This is how you do it:
Step 1: While you’re still on the Display with TV selected option, scroll down and click Advanced Display Settings.
Step 2: In the next window, click Display adapter properties to the display number that belongs to the TV.
Step 3: Click the Show all modes button in the pop-up window.
Step 4: Select an update frequency and click the OK button.
2. Display Port
Most desktop computers with dedicated graphics cards come with at least one DisplayPort connector, although it is not as common on laptops. Some have the mini-DisplayPort adapter altered.
Unfortunately, televisions generally do not have DisplayPort connectors; they are reserved for desktop monitors for the most part.

In this case, a male-to-male DisplayPort to HDMI cable is required, or you will need an adapter with a DisplayPort male end, and a female HDMI portend. In both cases, the computer connects to the TV as you would with an HDMI connection.
Windows 10 should detect the TV as an external display with the option of Extended Screen or Mirror Screen, depending on your preference.
3. USB-C Port
Modern computers without an HDMI or DisplayPort connector often have the USB-C port. Please note that not all USB-C ports support video output; it is just an interface that does not promise any other technology outside USB 3.2 connectivity. Check the PC specifications before assuming that your USB-C port supports HDMI and DisplayPort output.
In case your USB-C port does not support the function, you will require a male to male cable with USB-C on one end and HDMI on the other. Also, a USB-C adapter with a USB-C male end and an HDMI female end will work. As with a standard HDMI connection, Windows 10 should detect the TV as an external display.
4. USB-A Port
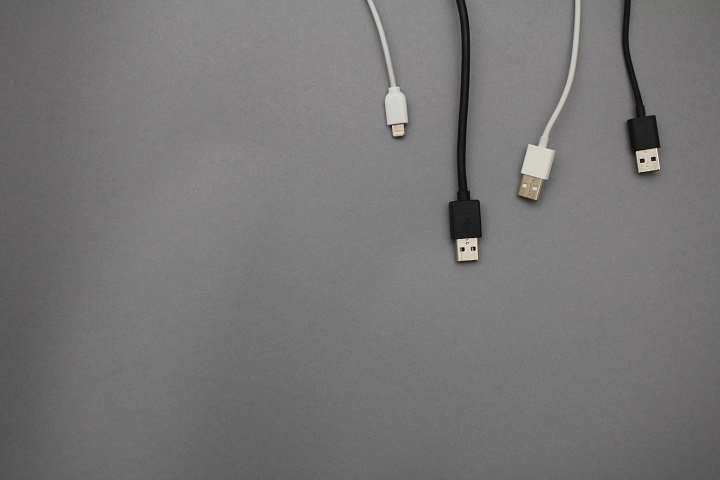
The USB-A port was never intended to send video. Unlike DisplayPort and HDMI, it requires third-party DisplayLink drivers. This method works best on blue USB ports (USB 3.0 and USB 3.1), as shown in the photo above, due to its speed.
However, the DisplayLink system requirements also list the older non-blue USB 2.0 connections, which are slower. This method requires an adapter or cradle with an HDMI port.
DisplayLink drivers are typically installed automatically when connected to a computer’s USB-A port. However, these drivers may be old and require users to download and install the latest version directly from DisplayLink.

With the adapter or cradle attached and the drivers installed, Windows 10 should detect the TV screen. Please note that video output performance may vary because the computer relies on third-party software.
5. VGA and DVI
VGA, short for Video Graphics Adapter, first appeared in 1987 and supported only analog video signals. It is far from versatile, but it can be used in some cases.
You can use a VGA male to the male cable on one end and HDMI on the other or use an adapter with a VGA male end and HDMI female end. Mini-VGA is a smaller variant.
The digital visual interface, or DVI, is the next step and is still used in some specific cases. There are seven variants of this interface, including DVI-I Single Link, DVI-I Dual Link, DVI-A, DVI-D Single Link, DVI-D Dual Link, Mini-DVI, and Micro-DVI.
This makes it challenging to purchase the right adapter, so check your computer’s specifications to determine the correct cable or adapter before purchasing.
6. Miracast
Make sure the TV is compatible, turned on, and set to receive the broadcast from the computer. For example, on an LG Smart TV with webOS, owners must first load the Device Connector application and select the PC option, followed by Screen Share and Miracast.
This method will not work at all if either device is on a wired connection.
Step 1: Click on the notification icon next to the system clock. This launches the Action Center.
Step 2: Click Expand at the bottom if only four tiles are visible.
Step 3: Click on Project tile.
Step 4: Select Connect to a wireless display from the drop-down menu on the right.
Step 5: Select the compatible TV from the list.
Step 6: Follow the instructions on the TV, if any.
Step 7: To end the transmission, click Disconnect located in a toolbar displayed at the top of the leading computer screen.
Note that this toolbar has a gear icon. Click on it to find the correct optimization depending on the mode you choose: Games, Work, and Video Viewing.
Games mode reduces latency for optimal frame rate. Watch Videos mode increases latency to reduce buffering, while Work mode falls in between the two.
To change the streaming mode, do the following:
Step 1: Right-click on the desktop and select Display Settings from the pop-up menu.
Step 2: The Settings app appears on the screen. Select the TV in the diagram.
Step 3: Scroll down to Multiple Screens and click the down arrow to expand the selection.
Step 4: Choose a mode: Extend screen, Screen mirroring, Show only on TV or Disconnect.
The resolution, scale, and other characteristics can be changed like any other display.

